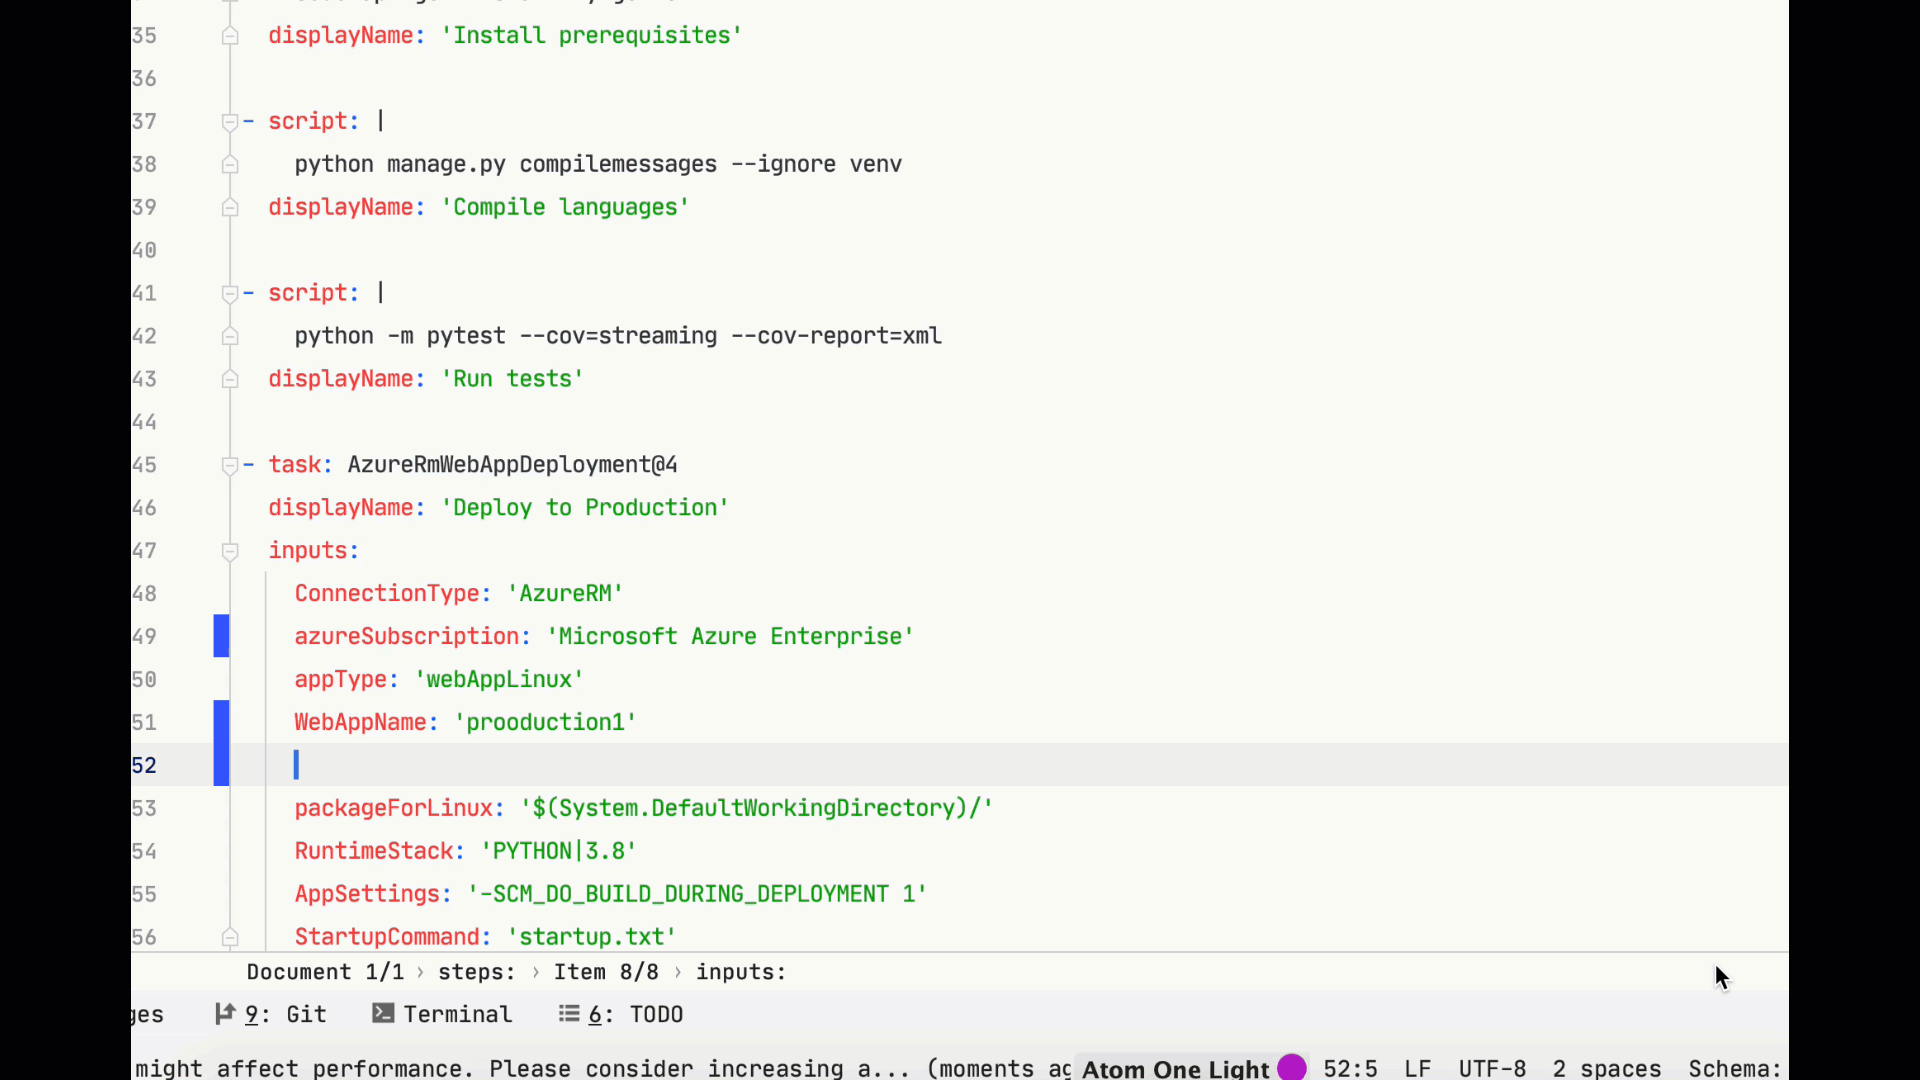
Azure Pipelines YAML files support a complex array of structures and nesting.
Guessing the options and reading through the documentation is time-consuming, and even worse is having to wait for CI to finish only to realise you made a mistake in the YAML file.
PyCharm, IntelliJ, WebStorm, CLion and Rider all support custom JSON schemas. These custom schemas can be setup to have auto-complete, syntax highlighting and validation of your Azure Pipelines workflows.
Downloading your Schema
You can use a generic schema, like this one. However, the auto-complete will be more useful if you download your organization custom schema.
This is available from the API:
https://dev.azure.com/<YOUR ORG NAME>/_apis/distributedtask/yamlschema
Visit this URL and you’ll see a massive JSON document. Download this file and place inside your Documents folder, or any accesible directory.

Telling your IDE to use the schema
Inside PyCharm, IntelliJ, etc. open up your Azure Pipelines YAML file. At the bottom toolbar you’ll see a notification ‘No JSON Schema’. Click on this notification and at the top of the popup, click “New Schema Mapping”.

This opens a dialog to configure custom schema mappings.
- Set the name as
azure-pipelines - Set the file as the schema file you downloaded in the last step
- Change the Schema Version to
JSON Schema version 7
Add 2 File Path Patterns:
.azure-pipelines.yml.azure-pipelines/*.yml
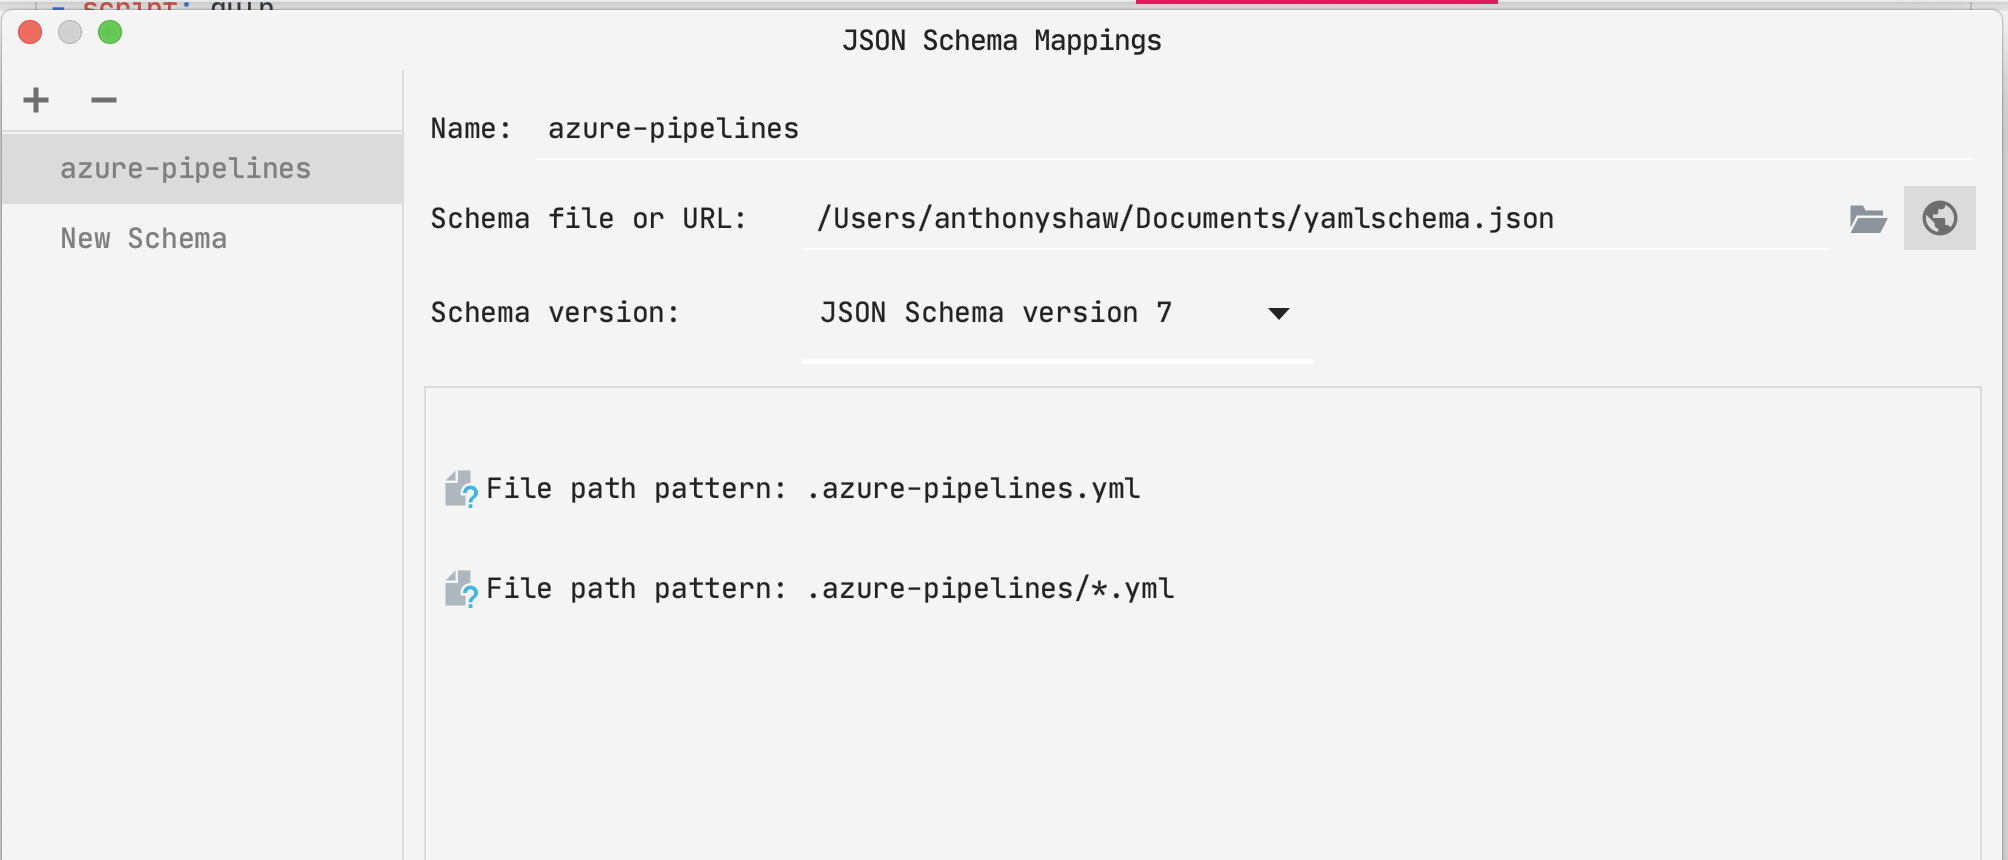
When you’re all done, click OK and your IDE should automatically detect any files and apply the schema.
You’ll know its working correctly when the typeahead works and the bar that said “No JSON Schema” now says “azure-pipelines”.
In future, if you install any new actions from the Azure DevOps marketplace, you’ll need to download and update the schema to get the new typeahead.
Related Posts